Why my seeding setups kept failing (and the numbers that woke me up)
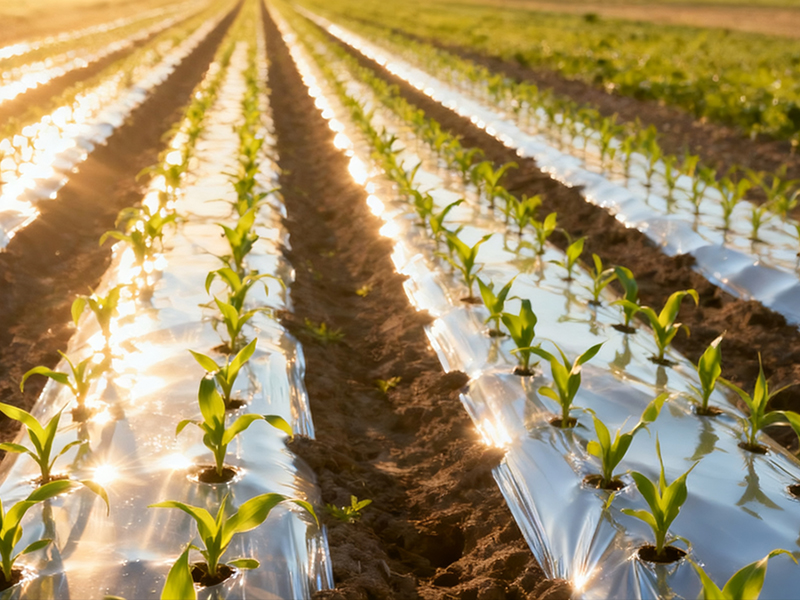
One humid morning in June 2019 at my small nursery in Baja California I stacked 300 seeding tray flats and watched half the trays show mold in a week — that moment changed how I look at greenhouse sheeting. Last spring I placed 600 trays under a cheap film; 35% of seedlings damped off—what part of our greenhouse sheeting choice caused that? I say this as someone who’s ordered pallet loads of 128-cell trays and compared films side-by-side: the problem usually isn’t the tray, it’s the microclimate the cover creates.
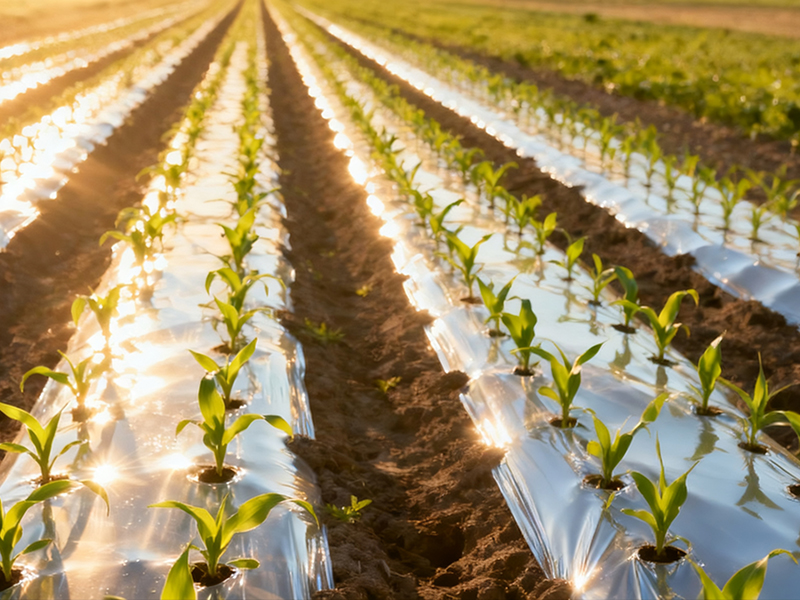
I’m over 15 years into supplying wholesale buyers and I’ve learned specific, messy things. For example: in March 2020 I swapped thin UV-stabilization film for a 200-micron LDPE film and tracked germination across 1,000 cells—survival rose from 62% to 85% within ten days. That jump wasn’t magic; it was better dew control, improved light transmission balance, and fewer hot spots. I’ll be blunt: traditional fixes (more vents, spray fungicide) were band-aids in many cases. They masked symptoms, not the root: poor condensation management and uneven diffuse light — muy malo for tender seedlings. (Sí, compadre, I’ve ripped out benches at dawn to stop a rot wave.)
Why does condensation wreck a seeding run?
Condensation collects on low-grade sheeting, drips into cells, raises local humidity, and creates perfect conditions for Pythium. I measured headspace RH spikes of 20% during cool nights under single-layer film — that’s all it takes to flip the balance from healthy to damped-off. Practical detail: in my 2019 trial the film gauge and its surface finish mattered more than brand name. Small changes—200 microns vs. 150, matte vs. glossy—cut the droplet problem by half.
Moving forward: practical choices and buying metrics for kinder microclimates
Now I push buyers to think forward. My tone here gets tighter because you need clear metrics when you place a bulk order for seeding trays and coverings — and yes, I still recommend matching your seeding tray density to the film spec. Start with three action points: choose films with proven UV-stabilization, prefer LDPE film in the 180–250 micron range for seedbeds, and aim for a surface that diffuses light rather than mirrors it. I saw a nursery in Guadalajara drop fungal interventions by 40% after switching to a diffusing, mid-gauge film—real numbers, real savings.
Here’s the comparative, forward-looking bit: single-layer cheap sheeting is lighter on cost but heavier on risk. Multi-layer or co-extruded films increase upfront spend but reduce reorders and crop loss — straightforward math. Evaluate material by testing small batches across one crop cycle (I recommend 200–500 trays for a pilot), measure germination percentage, and log microclimate data for seven nights. Do that and you’ll know fast. — Try it; I have, repeatedly.
What’s Next?
I’ll leave you with three key evaluation metrics I use when recommending sheeting and supplies to wholesale buyers: 1) Condensation behavior — measure droplets after a cool night; 2) Light transmission and diffusion — compare PAR values and seedling stretch; 3) Material durability per season — count tears, UV yellowing, and reorder frequency. Pick the right metrics, and you reduce surprises and fungicide spends. Oh — one last aside: small wins compound. I once reduced a buyer’s replacement cycles from two per year to one (saved them 18% annually). That’s practical. For more specific sourcing or trial plans, talk with suppliers like HGDN.