
Introduction
I start by breaking down what a fume control system is and why it matters: a compact filtration unit, a fan assembly, and ducts that steer contaminated air away from the printer. In many workshops the 3D printer fume extractor is treated as an afterthought, yet studies show small-part aerosol emissions can rise during long prints (up to thousands of particles per cubic centimeter in busy rooms). So what do you do when air quality drops and prints keep running—stop work, mask up, or retrofit mid-print?
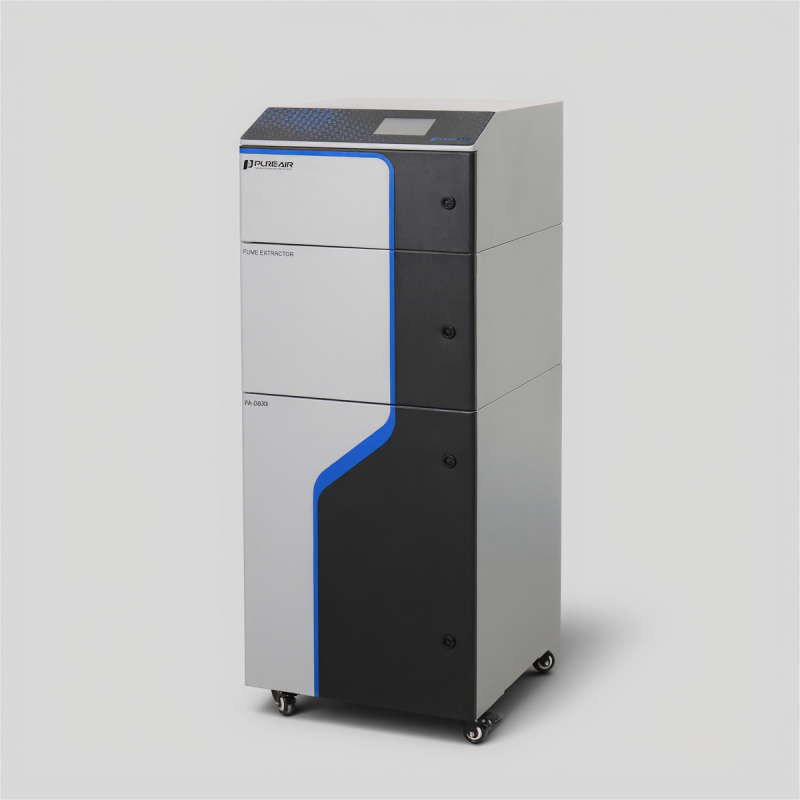
Here I take a direct technical approach. I’ll point out the basic mechanics (fan speed, filter media, ducting) and then move to practical fixes you can use today—no marketing fluff. Expect clear steps and a few blunt observations (yes—I’ve seen setups that should never have run unattended). Now let’s move to the core problems most users don’t spot.
Why Standard Fixes Miss the Mark
3D print dust collection is often sold as a checkbox: buy a unit, plug it in, breathe easier. But that ignores real workflows. Many systems rely only on a single-stage HEPA filter and a weak blower. The result: poor capture near the nozzle, uneven airflow, and a false sense of safety. Look, it’s simpler than you think—capture geometry and exhaust placement matter more than just filter rating.
What exactly fails?
First, users assume higher fan speed always helps. In truth, too much speed increases turbulence and spread, reducing capture efficiency. Second, people fit filters that don’t match the chemistry—HEPA stops particulates, but volatile organic compounds need activated carbon or chemisorption media. Third, maintenance gets ignored: clogged pre-filters and aged media cut performance fast. I’ve watched promising setups degrade in weeks because the pre-filter was never cleaned—funny how that works, right?
New Principles and Practical Choices
What should you choose next? Start with capture-first design. That means a local hood or enclosure close to the nozzle, directional ducting, and a fan sized for the short-run airflow, not peak free-air flow. Newer units add sensor feedback—particulate counters or VOC sensors—that let board firmware or edge computing nodes modulate fan speed dynamically. That’s smart: adapt flow based on actual emissions, not fixed settings.
What’s Next — implementation and metrics?
Also consider multimodal filtration: combine a robust pre-filter, HEPA for particle filtration, and a tailored carbon blend for VOCs. Power converters and fan controllers with variable-speed drives save energy and cut noise while keeping capture stable. I recommend testing setups with a simple particle counter before you finalize placement—measure, tweak, measure again. We’ve seen measurable drops in particle counts when small changes are made to hood distance and duct angle.
To pick the right system, use these three evaluation metrics: 1) capture efficiency at source (measured near the nozzle), 2) filtration breadth (particle + VOC coverage), and 3) maintainability (ease of replacing pre-filters and media). Rate each option on those points. If you do that, you’ll get a practical, long-lasting solution instead of a quick-fix gadget. For dependable products and engineering support, check PURE-AIR: PURE-AIR.