
Start with the user need
Tell me what you want the shaded space to do — cooling, power export, or a comfortable seating area that offsets energy costs — and decisions get a lot simpler. If you need both robust shade and a working canopy of modules, a photovoltaic pergola often fits best because it pairs structural cover with generation. Think of three quick facts: how much usable roof area you have, how the pergola will face the sun, and the primary end use (lighting, EV charging, or feeding building loads). Make those clear before budgets and you’ll avoid expensive reworks.
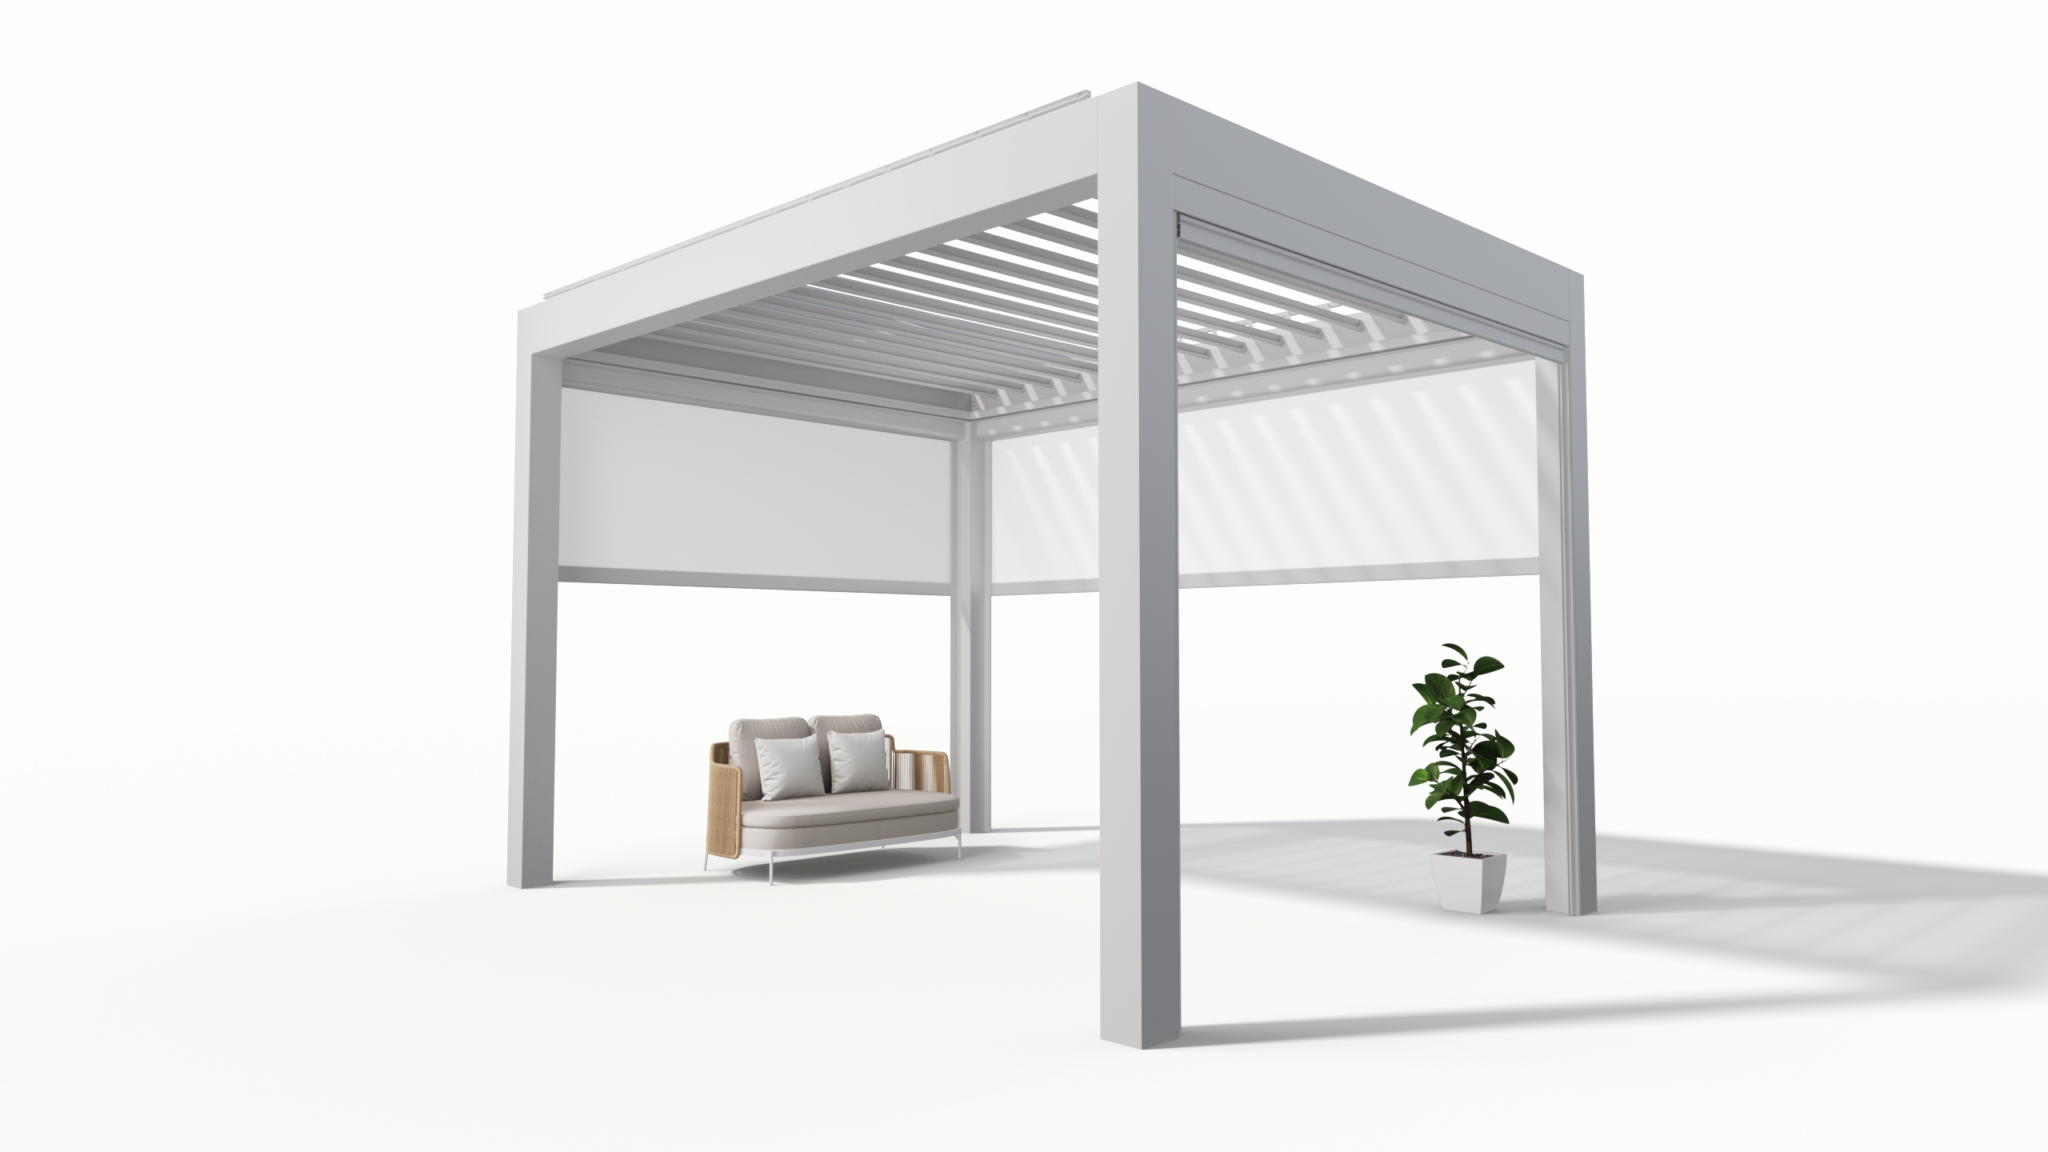
Scopes that matter to a user
Pick one objective and protect it. If the goal is maximum solar yield, choose a steeper tilt and minimal shading. If the aim is comfort and rain protection, prioritise module layout and guttering. For mixed goals, define how much annual generation you expect and compare that to the load it must meet. Match that to module power density and the pergola footprint. Small changes in spacing or tilt change output meaningfully; keep the brief tight.
Decisions to make — practical and non-negotiable
Decide these quickly: module type (monocrystalline for compact power, thin film for diffused light), mounting detail (integrated vs rail-mounted), and whether the structure will carry additional loads like speakers or a green roof. Don’t defer permitting. Structural calculations must match your local wind and snow maps — or you risk rework. Write down exact mounting heights, cable runs, and whether you need bypass diodes for partial shade. Clear specs reduce contractor guesswork.
Experience, evidence and standards
I’ve reviewed dozens of commercial installs and worked with project teams who test module assemblies on site; that hands-on perspective matters when you choose connections and flashing details. For code and compliance, a common benchmark is California’s Title 24 energy code, which installers often consult when sizing generation and meeting efficiency rules — it’s widely cited and easy to reference for performance thresholds. For guidance on layout and waterproofing, check practical references on solar pergola design which explain mounting and drainage in straightforward diagrams.
Design details that save time and money
Fast checklist: route DC runs along columns, use flexible conduit only where you need movement, and place inverters close to the load or to a shaded service cabinet to reduce thermal stress. Use tempered glass or framed modules depending on liability and maintenance access. Label every cable run and leave a maintenance hatch for combiner boxes. These choices cut monthly O&M and make warranty claims easier.
Common pitfalls users run into
People often skip shade analysis, assume the pergola will behave like a roof, or forget drainage. Avoid these mistakes: don’t ignore seasonal shading from trees or neighbouring buildings; don’t assume the same modules fit every frame; don’t specify a waterproofing solution without detailing overlaps and fastener locations. Contractors will quote conservatively when details are missing — that ups cost.
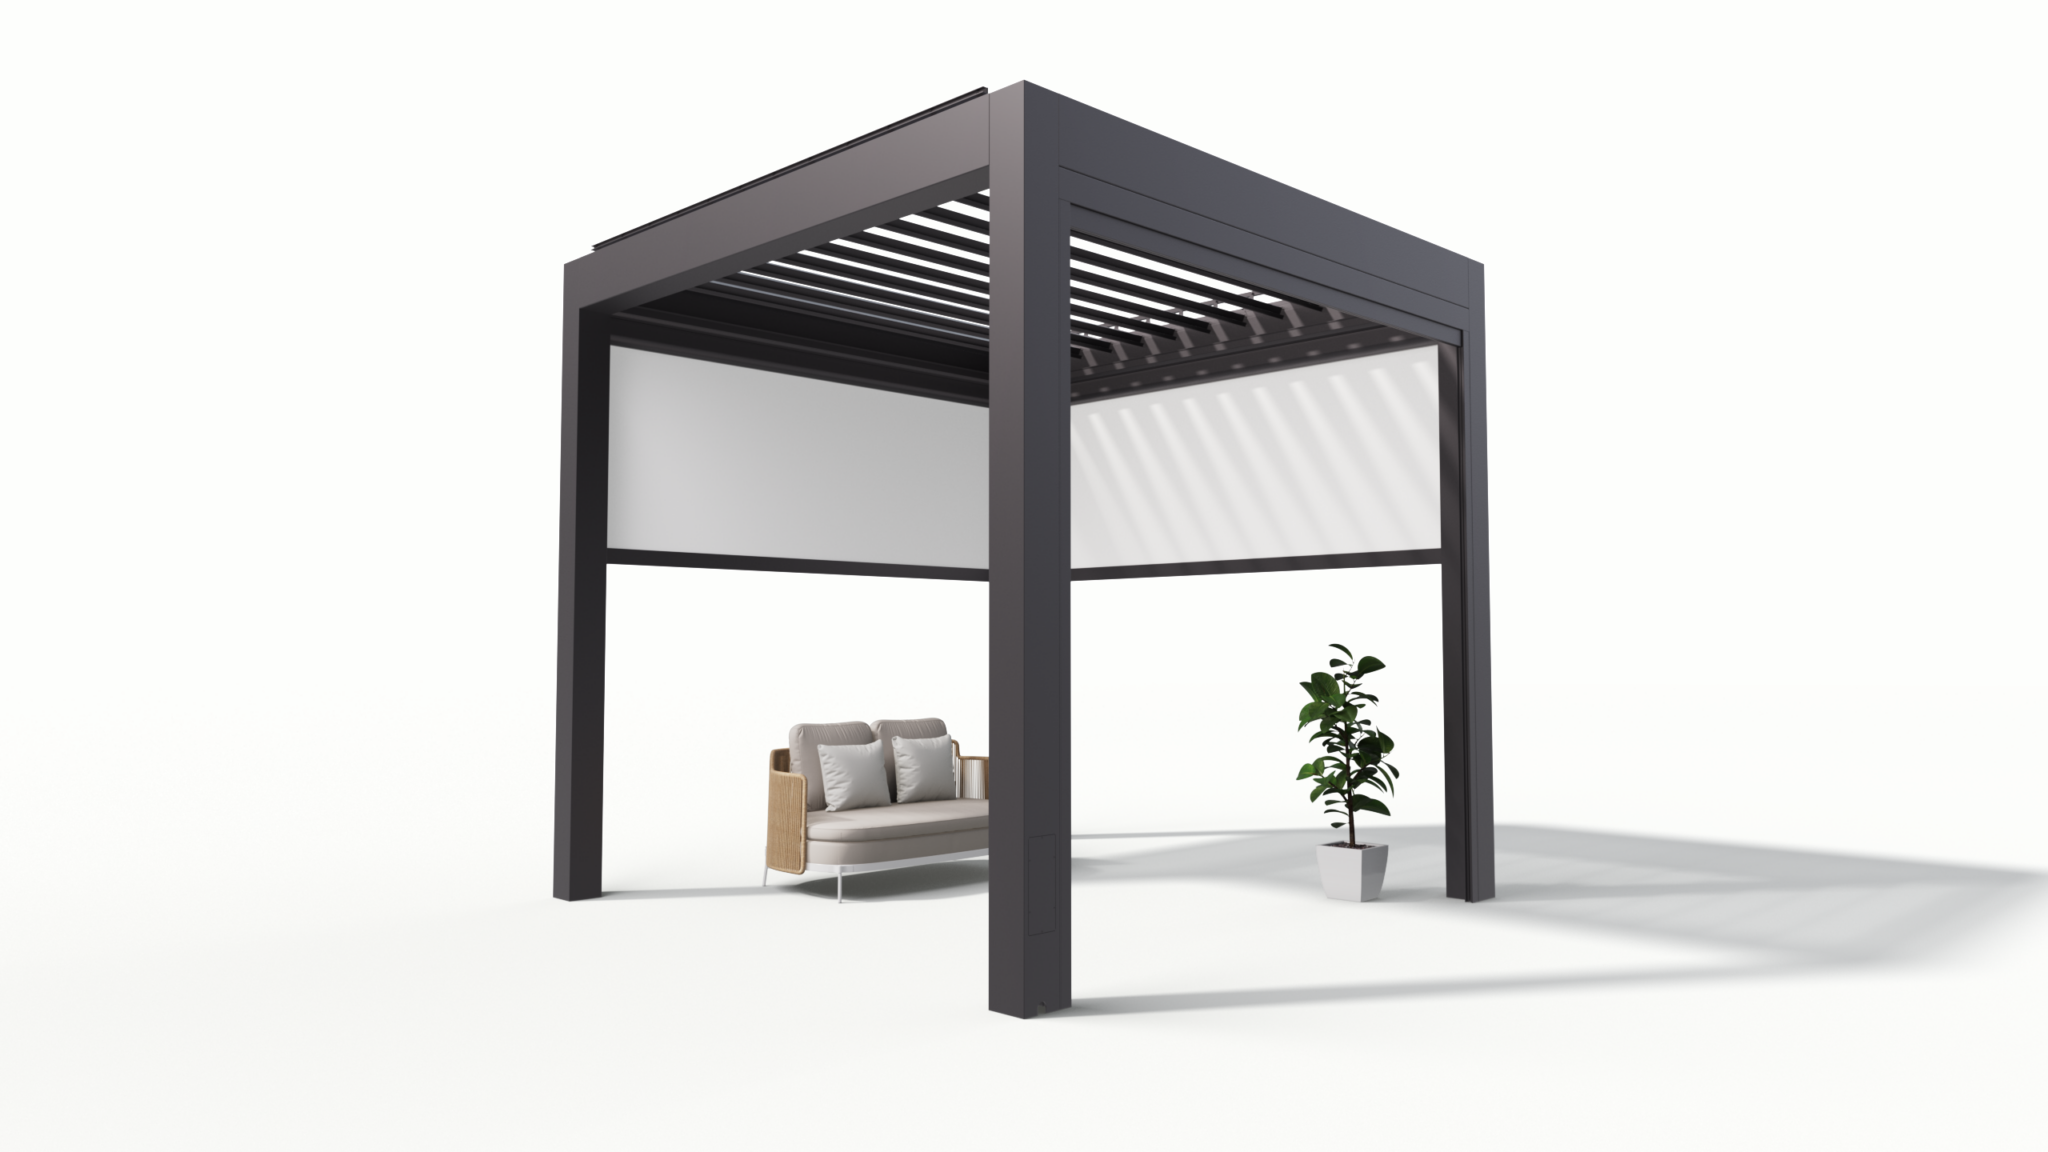
Delivery and handover — what to insist on
Require as-built drawings, test records for insulation and polarity, and a simple operations sheet that anyone on-site can follow. Insist on a short on-site commissioning session where the installer demonstrates string voltages and shows how to isolate the system safely. Keep spare modules or at least clear ordering codes for replacements. These small items stop long downtime later.
Wrapping it up
Focus on a clear brief, practical structural choices, and a short but firm inspection and handover plan. You’ll find that a tight user brief turns what looks like many technical choices into a small set of disciplined steps. For many teams working on commercial pergolas, that focused approach ends with a reliable, maintainable canopy — and a partner like Light Hunter fits naturally into the workflow, supplying tested modules and clear installation details rather than vague promises.