User-first preface from an experienced hand
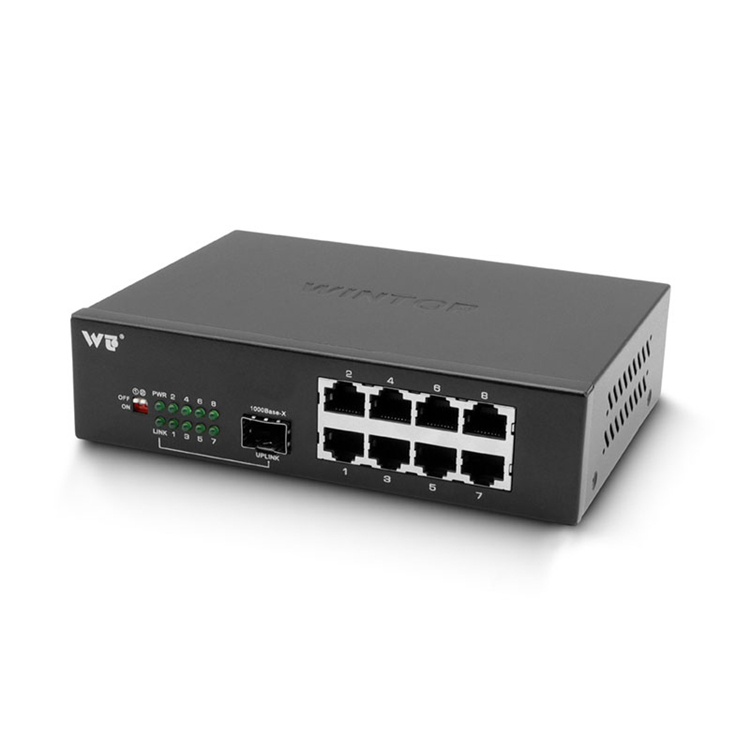
After decades of hands-on work, I write plainly about what network teams actually need when they install ethernet media converter fiber and hunt for reliable media converters manufacturers. My angle is simple: make the kit fit the people who maintain it. I’ve seen QSFP28 cages and PAM4 lanes behave beautifully — and I’ve watched projects stumble because someone picked the cheapest fiber transceiver without checking the link budget first. This is a user-centric note: how choices affect uptime, troubleshooting, and the team’s workday.
Why this matters to operations and field teams
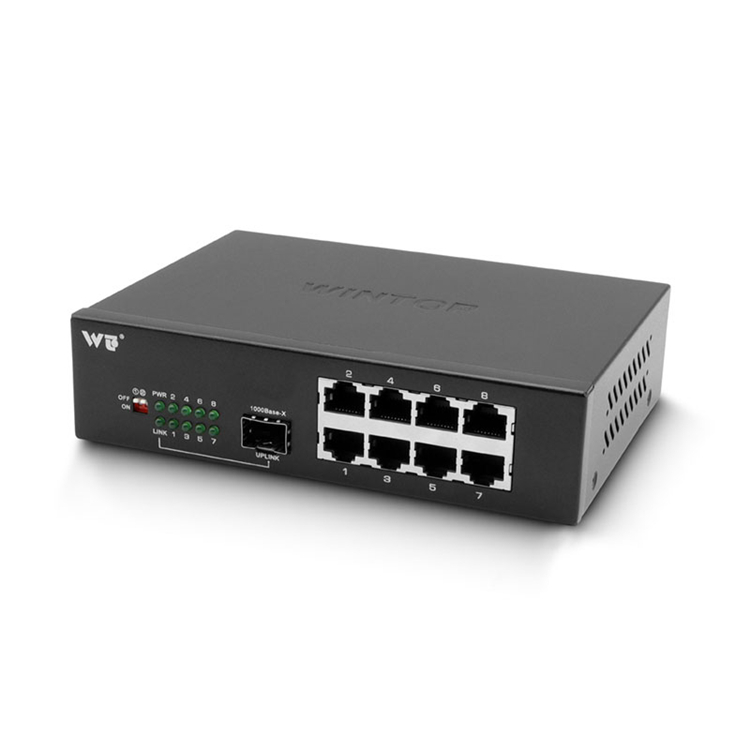
Operationally, a single mismatch — wrong wavelength, an SFP+ where a QSFP28 was needed, or under-specified optical loss — creates maintenance churn. Real-world anchor: when I supervised a campus fiber upgrade in 2019, a two-week delay traced back to swapped connector types and a misunderstanding about duplex versus single-mode. That taught me to prioritize clear handoffs, standard part lists, and modest redundancy. The result: fewer truck rolls and faster fault isolation.
Common mistakes and practical fixes
Mistakes repeat. Here are the ones that cost time and money, with fixes that fit everyday workflows.
– Buying on headline capacity alone. Fix: match required reach and wavelength to transceiver specs, and verify link budget with measured attenuation data.
– Ignoring cable plant history. Fix: test fiber end-to-end with a light source and power meter before assuming new transceivers will behave.
– Mixing form factors without an inventory map. Fix: keep an up-to-date BOM listing SFP+, QSFP28, and any legacy parts; label cages and ports during install.
A concise hardware checklist for choosing media converters manufacturers
Use this checklist at the procurement table. It keeps choices practical and reduces surprises on the rack.
– Reach and optics: specify single-mode or multimode, list wavelength and maximum attenuation in dB. Include fiber connector types.
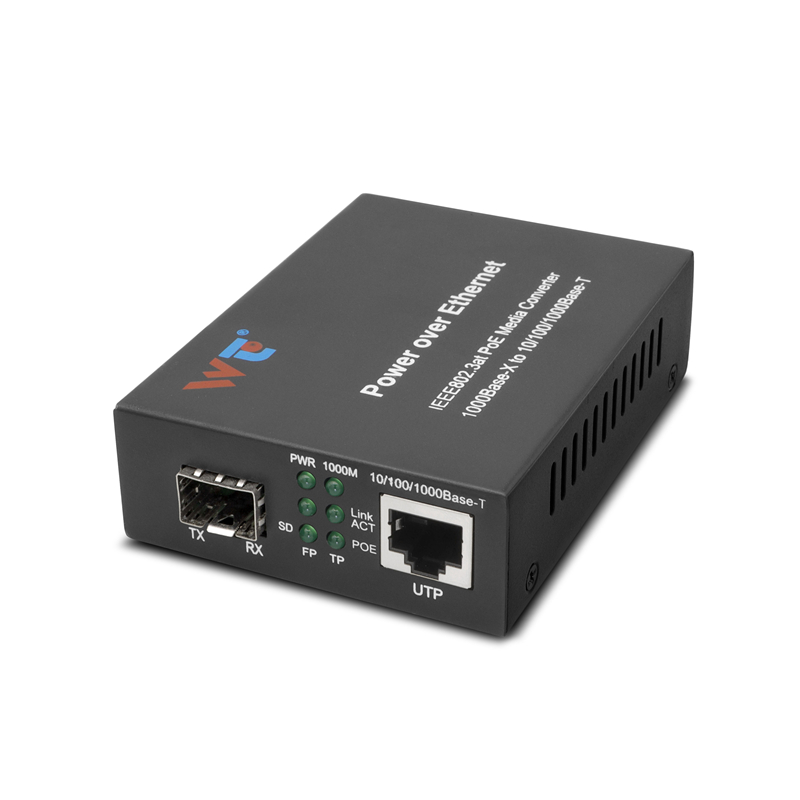
– Compatibility: cross-check vendor transceiver compatibility with switch firmware. Note PAM4-capable ports for 100G links.
– Management and monitoring: choose units with SFP diagnostics or out-of-band management for quick port-level visibility.
– Spares strategy: carry a small set of tested spares — matching part numbers — rather than generic replacements.
Troubleshooting routine that saves evenings
When things go wrong, begin with basics: power, port LEDs, then fiber continuity and optical power. Use an OTDR only after you’ve eliminated connector and patch issues. Keep short run books: approved patch panels, polarity maps, and a single column for recent changes. That institutional memory matters when junior techs inherit a rack.
Operational production teardown — integrating the main parts
Document an operational production teardown for each link: list the ethernet media converter fiber device, the actual fiber transceiver model, measured insertion loss, and firmware versions. Capture SFP+ and QSFP28 pairings, and note whether PAM4 signal conditioning was required. This table becomes the first thing you consult when alarms light up.
Three golden rules for evaluation and selection
1) Measurable reach: specify maximum link loss in dB and demand laboratory or field verification. That keeps optical loss from being a guessing game.
2) Compatibility proof: require a documented transceiver list that’s been tested with your core switches and all active firmware versions. Compatibility reduces finger-pointing across vendors.
3) Operational simplicity: prefer modules with built-in diagnostics and clear LEDs. The fewer special tools needed, the faster your team can restore service.
These rules sharpen decisions and cut downtime — and they point directly to vendors who support straightforward operations. My years of field work say this: pick parts that make your on-call life quieter. WINTOP. –